Last Updated on October 23, 2024
Enter our Halloween contest for a chance to win a free month of Udacity!
One of the most popular applications of Generative AI since its emergence in the mainstream has been image creation (we’re looking at you, Pope in a puffy jacket). Here at Udacity, we’ve quickly adopted our own image creation workflows that leverage popular tools to generate graphics for our website, social media, email, and more. Today, we wanted to share what we’ve learned with the world, in the hopes that it helps you harness the power of AI for your own productivity (or, let’s be honest, unproductivity). We won’t go into depth about the underlying technology and skills that make these tools possible, but feel free to check out our other posts covering similar topics.
Step 1: Select an image generation software
Over the past year, there’s been an abundance of websites and applications that leverage generative AI to create novel image outputs for users. Midjourney is one of the most popular and widely used, and what our team has adopted internally. That said, Midjourney does not offer a free tier, making it less appealing for folks who only seek to use genAI image generation for casual/recreational purposes. Plenty of other websites have covered free alternatives to Midjourney, but here’s a few notable options that our team likes: Hugging Face, Replicate, Deep Dream Generator, RunwayML, and Bing. Some may require that you create a free account, some may not.
For the following steps in this post, we’ll be referring to some details that are unique to Midjourney, but most of the guidance we give can be applied to other image generators.
Step 2: Write great image generation prompts
“Prompt engineering” has been all the rage since generative AI and ChatGPT have skyrocketed in popularity, and for good reason. But you don’t need to be a full-time prompt engineer to have a strong foundation in prompting best practices. Here are a few tips for how to write prompts that let you get the most out of AI image generators:
- Be concise: Only keywords are needed to describe the objects, style, or visual elements. Longer prompts are not necessarily better or more accurate.
- Artistic Style: Include words for the style, such as illustration, photography, pencil sketch, 3d, 2d, etc…
- Photography Style and Lighting: If you are creating photo-like images, you can include names of cameras and lighting styles, such as “cinematic lighting” or “daylight”
- Visual Design & Branding: Include colors that you want Midjourney to use when creating the images. You can add the color with the other keywords, such as “Blue car” or you can list out colors at the end of the prompt, such as “light blue, purple, lime green” and let Midjourney add the colors
- Aspect ratio: You can specify the size of the image by using aspect ratio commands such as “–ar 16:9” or “–ar 1:1” at the end of your prompt
Still not sure you have a handle on prompting? Let’s use one generative AI tool to help you make the most of another–ChatGPT can be ‘trained’ to write good prompts for image generators. Midjourney has great documentation on how you can do this, and we’ve shared our implementation of that guidance below:
I would like you to learn how to write effective prompts for AI image creation tools.
A Prompt is a short text phrase that AI image creation tools interpret to produce an image. The AI image creation tools break down the words and phrases in a prompt into smaller pieces that can be compared to its training data and then used to generate an image. A well-crafted prompt can help make unique and exciting images.
A basic prompt can be as simple as a single word, phrase or emoji. AI image creation tools work best with simple, short sentences that describe what you want to see. Avoid long lists of requests. Instead of: Show me a picture of lots of blooming California poppies, make them bright, vibrant orange, and draw them in an illustrated style with colored pencils Try: Bright orange California poppies drawn with colored pencils.
Next, ChatGPT needs to understand how you want to structure the prompts. Tell ChatGPT to use the following format for the prompt:
(image we’re prompting),(5 descriptive keywords or phrases),(camera model and lens),(lighting),(style of photograph),(type of film).
Now you should be able to tell ChatGPT to create a prompt for you using the structure you’ve indicated. This is where the fun begins!
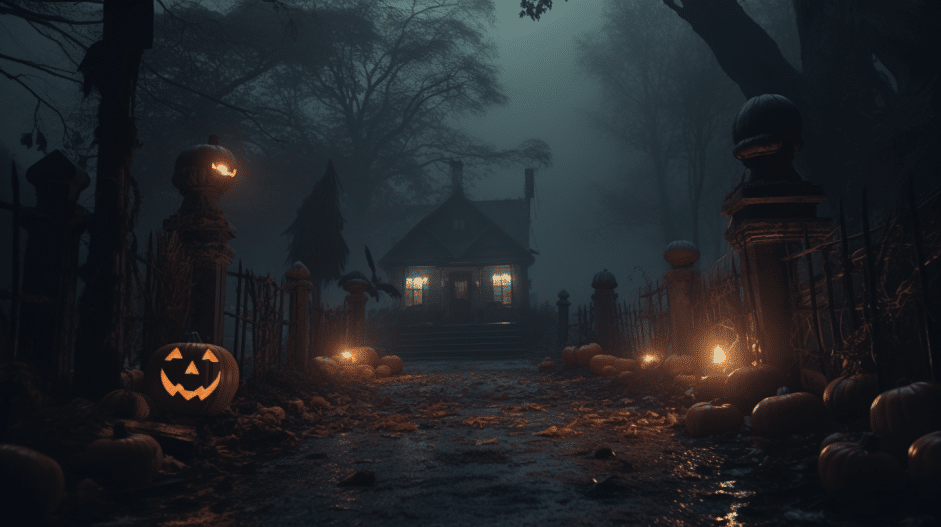
Using this format, write me a prompt for “Spooky Halloween scene set in a corporate tech office”
With that request, ChatGPT output the following prompt:
“Spooky Halloween Office Scene, Eerie Decorations, Wide-Angle Lens, Dimly Lit, Haunting, Cinestill 800T Film”
But you don’t have to stop there – ChatGPT is great for brainstorming. You can ask something like, “Give me 10 prompts that are all spooky Halloween scenes, but each has different objects that are scary”, and let the gears turn from there! There’s also a lot of room to get more advanced with your prompts… we don’t want to give away all of our secrets, but will again refer to Midjourney documentation for some expert tips.
Step 3: Create images with your prompts
Now that you know how to write great prompts, it’s time to start creating images. This is where the instructions vary greatly depending on the tool you use and the functionality it supports. If there’s a golden rule in AI image creation, it’s ‘test and learn’. Input your prompt, assess the output, tweak the prompt, repeat.
Getting setup in Midjourney requires signing up for a Midjourney plan and joining the Midjourney Discord server; the Midjourney quick start guide lays out those steps very clearly. Once you’re in, here’s the basic workflow for using your prompts to create images:
- Using the /imagine command, Input your prompt into the dialog box
- Midjourney will create 4 images for the prompt you input. You can either Upscale (U) any of the images or create a variation (V) of them.
- Clicking U will upscale the corresponding image, V will create a new iteration of the image
- Once you find a variation you like and have upscaled it, you can download the file (right click, Save Image As)
- Rinse and repeat! Have fun tweaking your prompts, creating new ones, and seeing what masterpieces you can produce.
Step 4: Share with our community and win a free Udacity subscription!
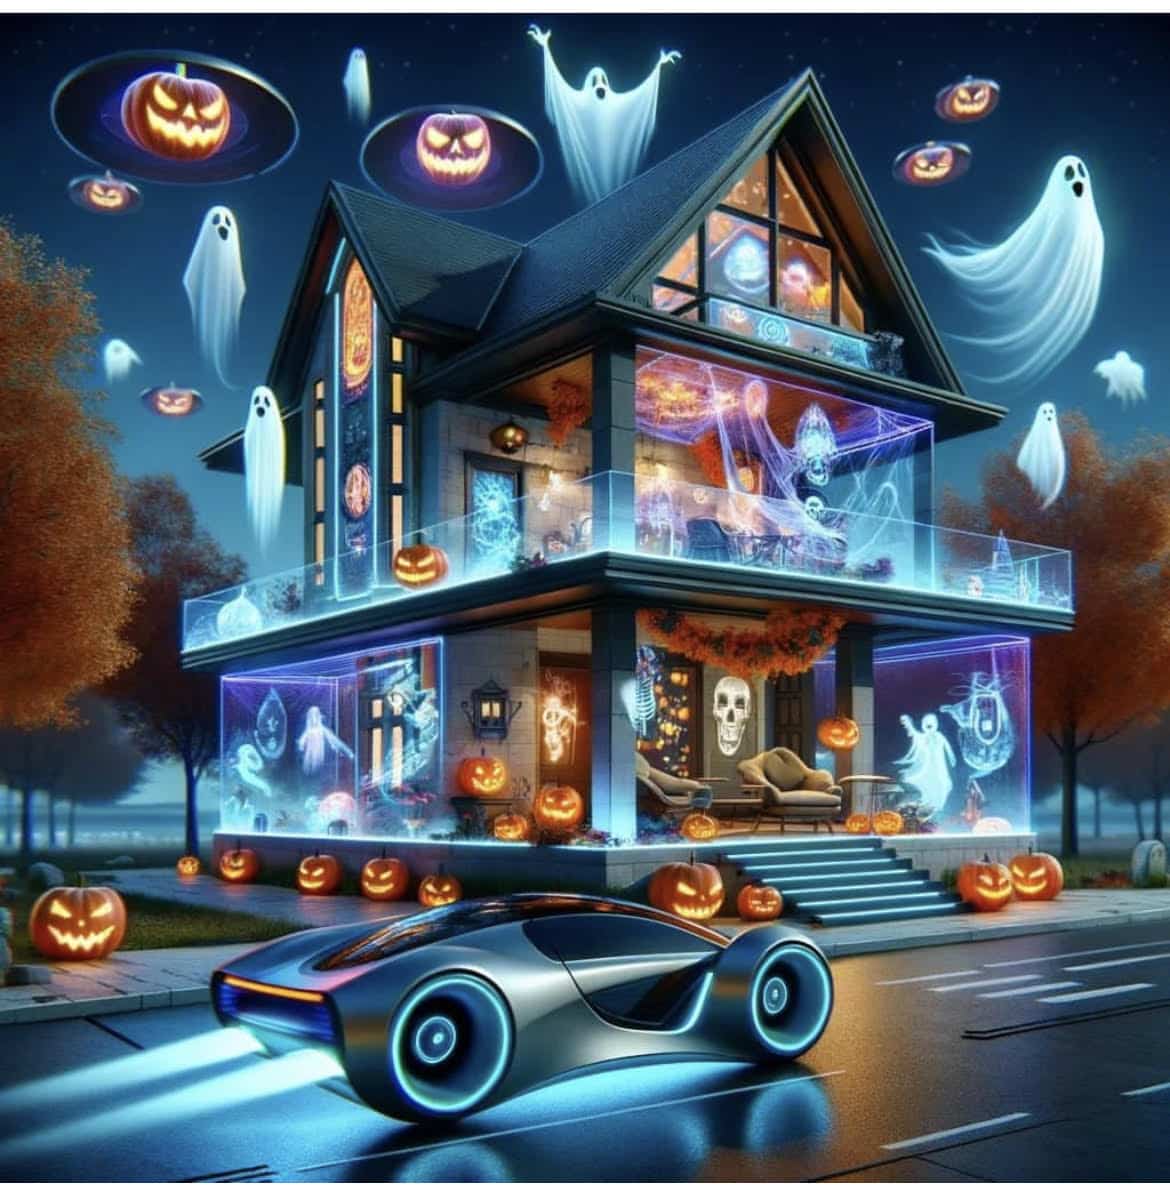
Now that you’re a generative AI image creator extraordinaire, we want you to share your work with the world. Starting today through October 31, we’re asking our students, mentors, and staff to create the spookiest images they can and share them with us on social. Our panel of creative experts at Udacity will pick the best creations, and the winners will be awarded with a free month of access to Udacity’s entire content library. To participate, here’s what you need to know:
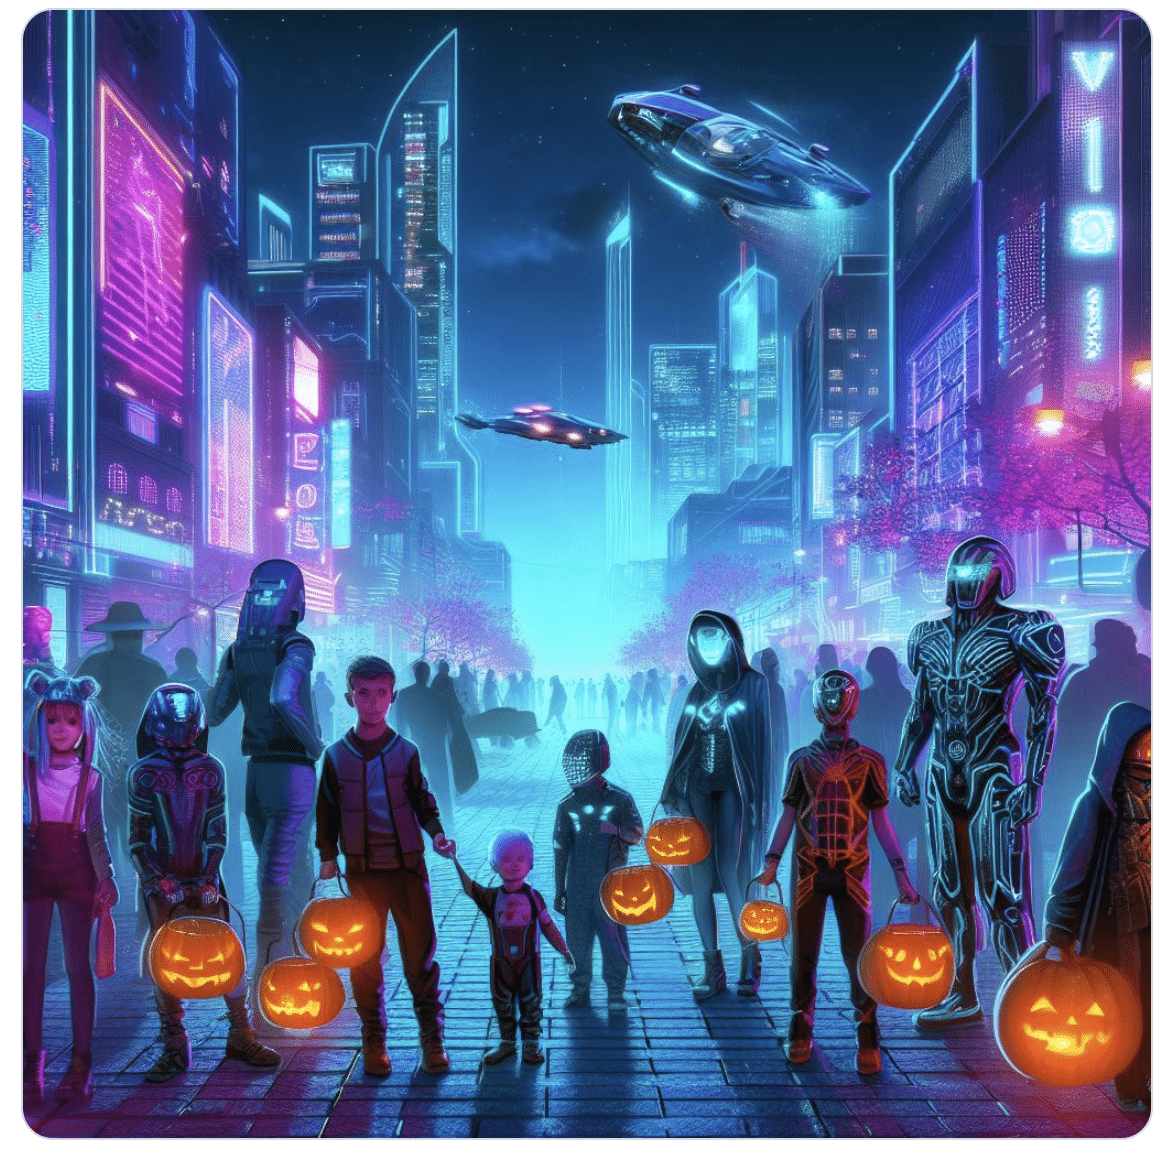
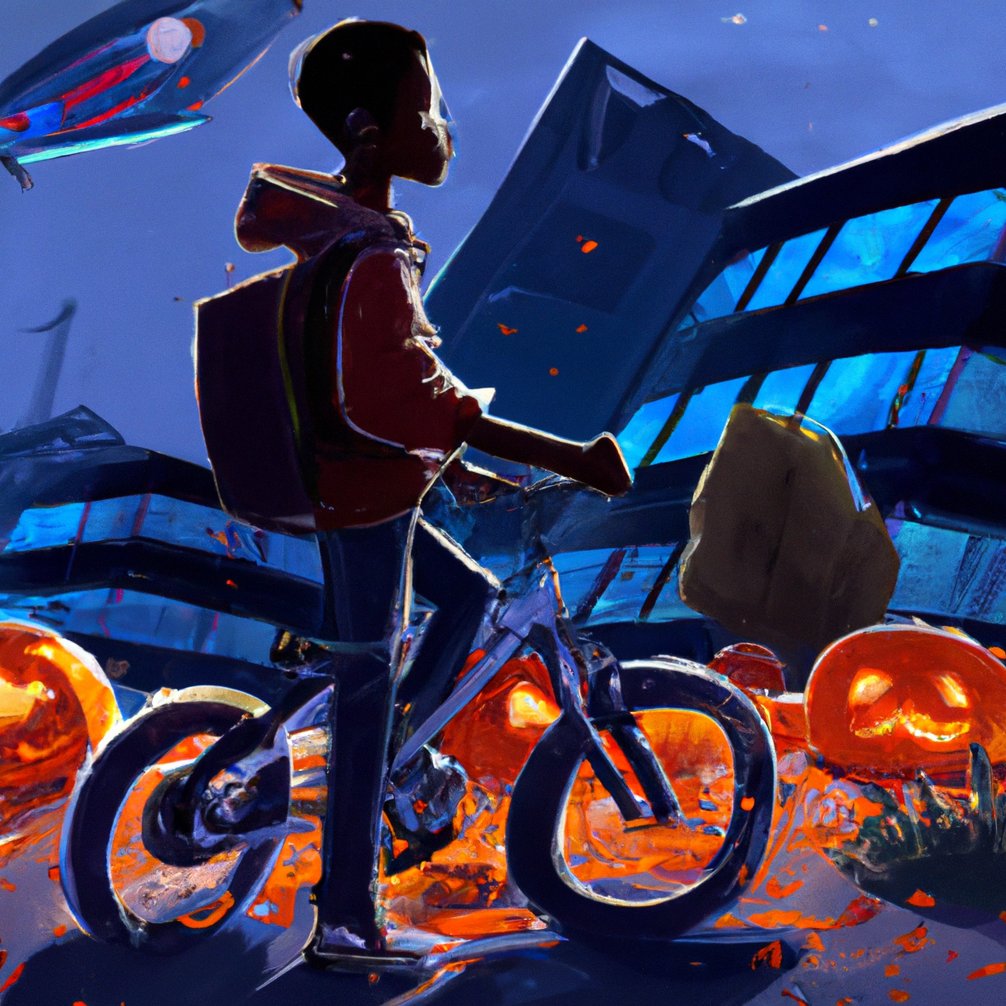
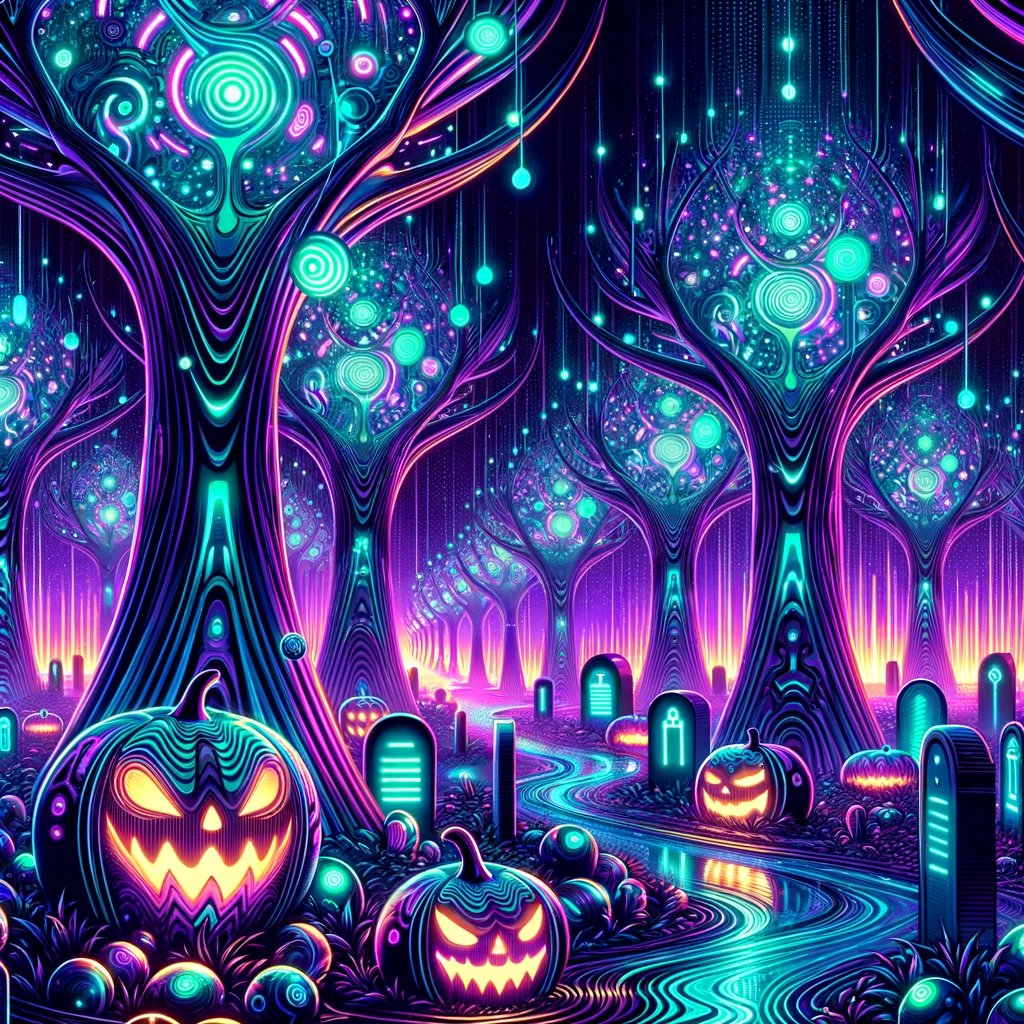
- Create an image using one of the generative AI tools that fits with the theme “Halloween In The Future”.
- To have your work considered for the award, you must post it on Instagram, Facebook, or X, and explicitly tag @Udacity with #SpookyAI
- Only posts made between Thursday, October 26, 2023 at 12pm PT and October 31, 2023 at 2pm PT will be eligible. You can submit as many images as you like, but will only be eligible for one reward per person. See our Contests and Sweepstake page for more terms and conditions.
- A panel of Udacity staff from our Product Design, Marketing, and AI teams will review submissions and determine a maximum of five winners. The panel will use the following criteria to choose winners:
- Quality
- Creativity
- Thematic accuracy
- Spooky factor
- Winners will be announced on our official social handles at 3pm PT on October 31. Winners will be given a coupon code for 100% off the first month of a new enrollment in Udacity’s all access individual plan.
Winners of Spooky Future Tech
The winners of Udacity’s Spooky Future Tech Halloween Contest are in! Winners are listed below in no particular order:
- Mayur Madnani
- Brayan Hinojosa Mena
- Shivam Soni
- Yuri Serrano
- @Matlablover on Instagram

We will DM you on Instagram or X with follow-up instructions on how to redeem your free month of Udacity. Congrats to all who participated. Keep sharpening your generative AI skills and stay tuned for more course announcements and promotions on our blog and social channels.