In this introductory tutorial on images (img) in HTML, we will explore some easy-to-use, creative applications to further enhance your ability to use images on your web page effectively. Additionally, we will explore the types of images you can use, as well as how to best optimize images so that your web page loads easily.
Although a website is built to provide information, it is also a place that can and should be aesthetically pleasing. A website without images is simply a page of text. As human beings, we need to have text and visual imagery coincide in a symbiotic fashion. Certainly the text and how it is displayed with the images is of equal importance. However, ensuring that images are used correctly is a technical art form and this tutorial will provide guidance on how to and add images properly in HTML.
What Types of Images are There?
In the world of images appropriate for web design, there are only a couple that really matter: JPG and PNG. Let us look into the difference between the two and see how they function.
The JPG Image File Type
A JPG (pronounced jay-peg) image is for photographic images. The higher the image resolution, the better the clarity, but this also means a larger file size. The JPG format (also known as JPEG) was created in 1992 by joint photographic Experts Groups.
A JPG should be used in any situation when it is important to have a photographic image presented as a smaller file size. JPGs are easy to “shrink” by exporting them into a smaller file size. This is not only useful for web images but essential as a smaller file size image will simply load faster into a web page. As many, but not all areas of the world are increasing their broadband internet connection, file size becomes less important, but for those who still have slower internet connections, they will certainly thank you for your consideration.
The PNG File Type
A PNG file format was created in the mid-1990’s to replace the GIF image file type. GIF had limitations. These limitations prompted the creation of the PNG.
An important benefit over the JPG file type is that PNGs, unlike JPGs support transparency. This allows you to have a transparent background around an irregular-shaped object and avoid a white (or other colored) box outlining your image. If you require a transparent background, this is going to be your go-to image type. Additionally, the PNG is preferred over the JPG when presenting drawings, illustrations, charts, graphs, etc. Basically, the recommendation is that for any image that is not a photographic image, use the PNG file type.
Using HTML to Access an Image
TIP: Organizing your HTML images is extremely important and should be done right from the beginning as you design and build your web page. All images for your web page should be placed in a single folder called appropriately “images.”
Once you have your images in the “images” folder, you can pull those images into your web page by using the following method:

The src attribute (source attribute) tells the browser where to find the image and which image to find.
TIP: Remember the following:
- Always be aware of lower and upper case letters in your file name. In the example above, if you put an initial cap in oceanwave1.jpg so that it read Oceanwave1.jpg, the image would not be found.
- Always make sure you put the image extension file type on your image name. If you fail to do this, your image will not be found.
- Always make sure to use the proper image extension file type such that you do not accidentally name a JPG file with a PNG extension. If this happens, your image will not be found.
Images Size
Another important aspect of working with images is being able to resize them. They may not be the exact size that you want once you get the image into your web page. Being able to alter the size is necessary for the purpose of customizing your web page layout.
Assuring Exact Image Size on Screen Using Numerical Values
When we use a numerical value, we are referring to the number of pixels. As your monitor is 1920 x 1080, this means that you have 1,920 pixels wide by 1,080 pixels high. In the example below, we have an image that is 600 pixels wide by 400 pixels high. The code looks like this:

The image appears perfect in resolution and dimension.
TIP: You should know the exact width and height of your image prior to setting these values. If you do not set the values correctly, you will end up with a distorted image.

If you enter incorrect numerical values, you can end up distorting the image. If we got the numbers mixed up and entered 500 pixels for the width and 600 pixels for the height, the code would look like this:

The image would look distorted like this:

Setting an Image to a Percentage of the Presentation Area
Using percentages as values does not apply directly to the image itself. If I set the value of the width and height each to 50%, this does not reduce the image in half.
What it does instead is read the space on the web page and adjust the size of the image in accordance with the presentation area.
For example, if you put this as the only element on the page, your browser would attempt to use this image to take up 50% of the width of the page, thus making it potentially larger than its original size instead of half of its original size as you might expect.
TIP: If your image is being presented at larger than the original size using the percentage method, then your image may appear pixelated, meaning that it has lost resolution and is no longer as crisp and clean as it appears in its original form.
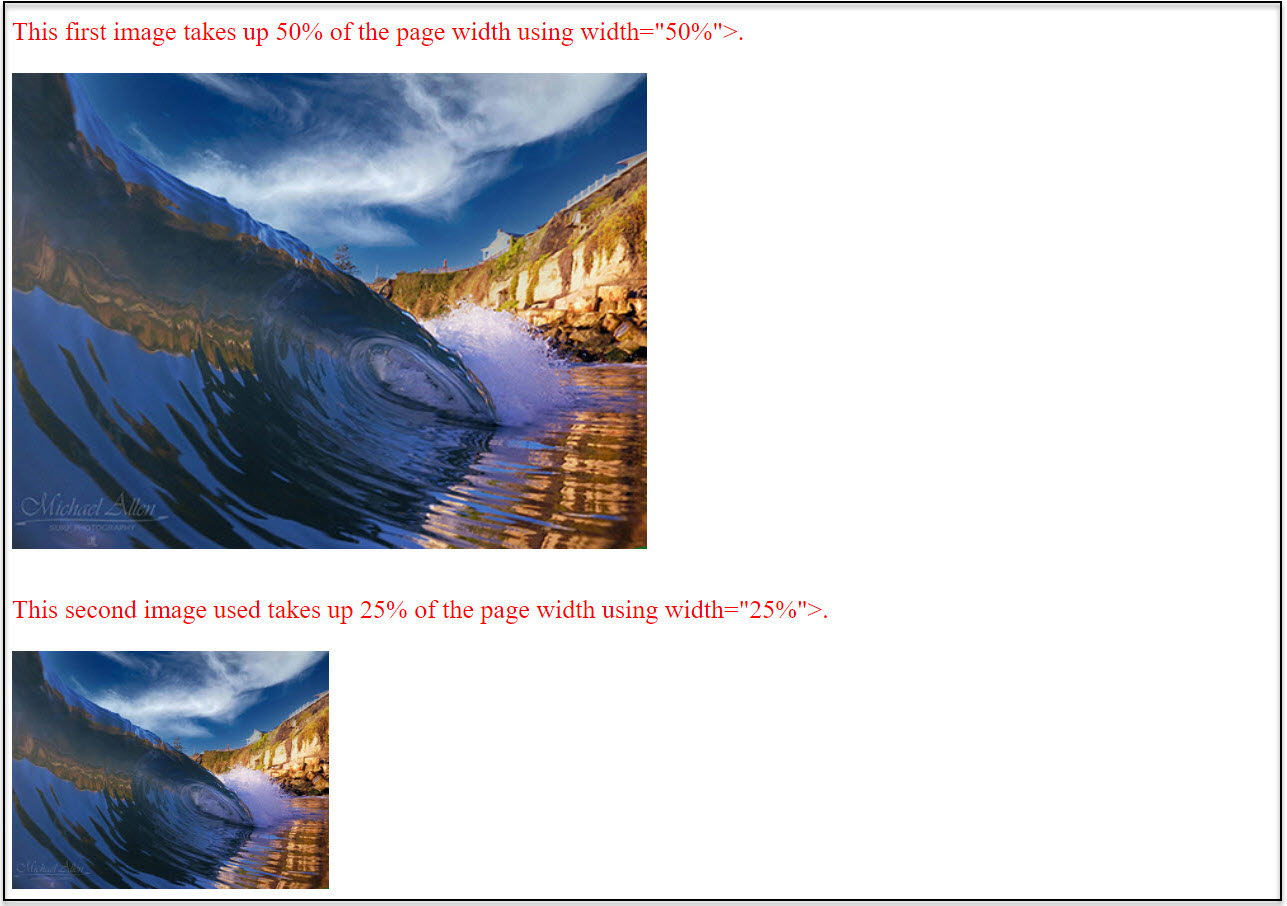
Image Borders
Call Out and Define an Image Border
If you want to add a border around your image simply define a border and border width.

The result would be the following:

In more advanced tutorials, we will get into the area of customizing these border frames around images.
The Alt Attribute and Why it Matters
The alt attribute is added to the HTML as an alternative description. This is an accessibility consideration that provides meaningful information for users who are unable to see the image (if they are visually impaired, for example). There are programs that assist the visually impaired by reading the text aloud on the screen for the user.
The program will read the alt text so that the user can understand what types of images are on the page even if they might not be able to see them. Understanding this point of view from a visually impaired person hopefully will give you insight as to why a well-written alt text description of the image can be vital to a user’s understanding of the web page.
The HTML code is simple and can be added easily as follows:

Also, see: Margins and Padding for web customization options to enhance blocks of text. Use your web images in conjunction with Margins and Padding to create a more stunning web page.
Where to Next?
This introduction to HTML Images should provide a starting point for further inquiry into the unlimited creative aspects that HTML offers. We will continue to explore other areas of HTML design in the next blog. We hope this introduction has piqued your interest and inspired you to explore further and dive deeper into the world of web design.
Enroll in our Intro to Programming Nanodegree program today!