Last Updated on October 23, 2024
There can be many reasons a user cannot gain access to a website. One of these is known as a 404! error. Quite simply an HTML 404! error message is a Hypertext Transfer Protocol (HTTP) status code indicating the server could not find the requested website. In other words, your web browser can connect with the server, but the specific page you are trying to access cannot be reached. In this tutorial, we will build an HTML 404 error web page to customize what the visitor sees when they land there. We will use some CSS as well to further enhance the page.
The 404! Error

Why the 404! HTML Error Appears
When an HTTP 404 appears on your screen, it means that although the server is reachable, the specific page you are looking for is not. The web page is either broken, or it no longer exists. The 404 error code can appear in any browser, regardless of the type of browser you are using.
There are several reasons why you might be getting an HTTP 404 code:
- One typical trigger for an error 404 message is when the page has been deleted from the website.
- The page was moved to another URL and the redirection was done incorrectly.
- You entered an incorrect URL address.
- Although it happens very rarely, sometimes the server malfunctions.
- The entered domain name does not exist anymore.
Unfortunately, broken links are often left for long periods of time after the page has been deleted or moved. Even when web owners maintain their web sites, sometimes the owner may delete the site, or change the name of the site. This means that when someone clicks on an “old” link, they will no longer be able to find that site. Unfortunately, due to many people putting up URLS to web sites all over the place, there will ultimately be links that actually link to nowhere.
It is common for owners of websites to not check their external links regularly which leads to users trying to access a dead link. Web maintenance is essential for this reason.
Create a “Page Not Found” HTML Web Page
If a visitor to your website reaches an old and non-existent web page, the server that hosts that website will show a “404” error that basically says the page can not be found. Instead of allowing the server to show a bland, default error page, you can create one of your own and get as creative as you want with it.
Let us jump into step one of our tutorial.
Step 1: Create an HTML Landing Web Page
Let us start by simply creating a basic HTML page. This will be the foundation for creating a more exciting and informative 404! Error web page for visitors to land on.
Open a text editor, save the file as “shorelinesurfteam.html” and put in the following HTML code. Save your file again when done.
<html><head></head></html> |
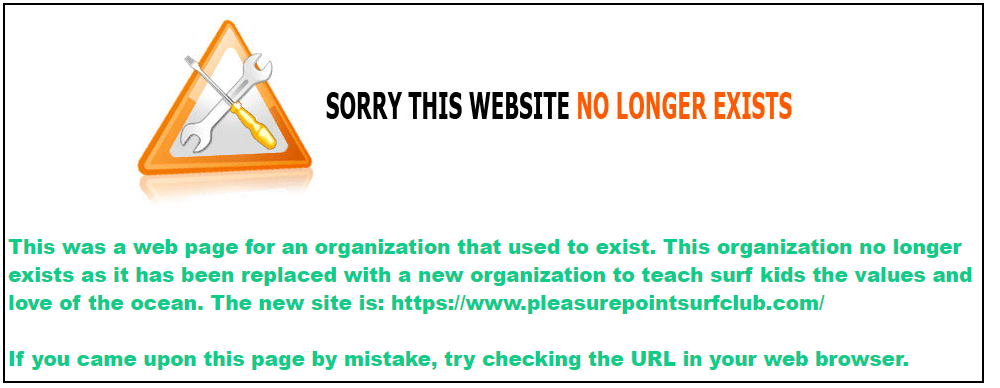
To assist those who have landed on this “non-existent” page, you can add some helpful information to guide them on the right path. Perhaps add some information as to why the page does not exist anymore. Add something like this into the HTML. Feel free to copy the following code and resave your html file.
<html></head> |
The following illustration identifies the text we added to make the page more informative.

To punch up the text font, let us add a style. Copy the following code and resave your HTML file.
!DOCTYPE html><html><head>p { color: blue; font-weight: 900; font-size: 20px; font-family: Helvetica, Arial, sans-serif; }</head><p>This was a web page for an organization that used to exist. This organization no longer exists as it has been replaced with a new organization to teach surf kids the values and love of the ocean. The new site is: https://www.pleasurepointsurfclub.com/</html> |
Add an image and change your text color to a custom hex color if you want as well by adding the HTML to reference the image. The image can go in your root directory as well.
!DOCTYPE html><html><head>font-weight: 900; font-size: 20px; font-family: Helvetica, Arial, sans-serif; }</head></html> |
Step 2: Tell the Server to Use Your HTML 404! Error Page
Create a “.htaccess” file. This text file serves the purpose of passing on instructions to the server.
There might already be a .htaccess file in the root folder of your web hosting space. If there is, download it and amend that. It may be a hidden file. If so, you may need to adjust your server settings so that you can view this file.
In this “.htaccess” file you will need to add this line:
| ErrorDocument 404 /shorelinesurfteam.html |
This is all you need to add. You do not need to add any HTML code.
What this does is tell the server that when it encounters a 404 error, it should load the shorelinesurfteam.html file in the root folder.
Step 3: Save .htaccess File to the Root Directory
Save your “.htaccess” file and upload it to the root folder of your web site. When the server encounters a not-found error, your error page will be shown.
Now when a visitor finds the web page (per our code above)
Instead of seeing this:

They will see the following more informative and friendly error page that you have created.
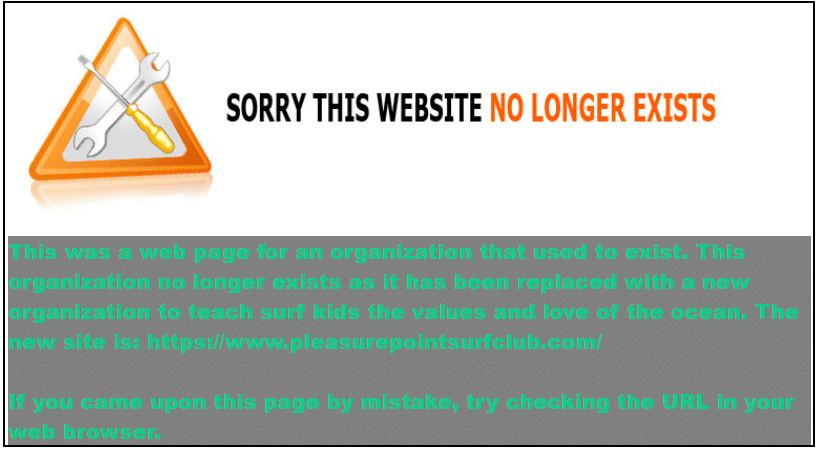
To make the green text stand out more, you can add a div element with a color background as such:
| <html> <head> <style type=text/css> p { color: #0ecc8a; font-weight: 900; font-size: 20px; font-family: Helvetica, Arial, sans-serif; } div { background-color: gray; } </style> </head> <body> <a href=”#”><img src=”site.jpg”></a> <div> <p>This was a web page for an organization that used to exist. This organization no longer exists as it has been replaced with a new organization to teach surf kids the values and love of the ocean. The new site is: https://www.pleasurepointsurfclub.com/ <br><br> If you came upon this page by mistake, try checking the URL in your web browser.</p> </div> </body> </html> |
This will yield the following:
Now, you can be as artistic as you like to create your fancy, informative 404.html page. Always keep the visitor to the page in mind to enhance their experience.
See the HTML Font Families to learn how to enhance your text, and also check out the CSS Background Tutorial to learn how to enhance the background of your web page.
Where to Next?
This introduction to the 404 page error should provide a starting point for further inquiry into web page management and the unlimited creative aspects that HTML offers. In the next blogs, you will be able to explore other areas of HTML design. Continue to be inspired, explore further and dive deeper into the world of web design.
Enroll in our Intro to Programming Nanodegree program today!

